How to Create Polaroid-Style Gift Tags for a Personal Touch
Share
Creating Polaroid-style gift tags is an awesome and fun way to add a nostalgic, personal touch to your gifts or decor. Follow these simple steps to transform your favorite pictures into charming Polaroid-inspired prints.
Step 1: Scan a Photo into Your Computer
First, make sure you have a photo ready to work with on your computer. If you don't have one in digital format, use a scanner to digitize your printed photo.

Step 2: Adjust Colors and Saturation
Open your scanned photo in an image editing software like Photoshop or Canva. To give it a Polaroid vibe, adjust the colors and saturation. Aim for a slightly faded look by lowering the saturation, giving your image that nostalgic, washed-out feel. Feel free to experiment with monochromatic tones to achieve a modern retro look.
Pro Tip: Add some noise, texture, and light leaks to give a really vintage vibe!

Step 3: Crop Your Photo
Crop your photo into a square or a shape that’s just slightly longer than a square. This will help in achieving the classic Polaroid look once you add the border. Need specific measurements? We created this photo (minus the border) at 2.625" x 2.875".
Step 4: Create the Polaroid Border
To replicate the Polaroid look, leave room for a border around your photo. Measure and create some space for a border about .25" along the top and sides and a .75" space for a border at the bottom. The extra space at the bottom is characteristic of Polaroid photos and provides room for a personal message.

Step 5: Print Your Photo
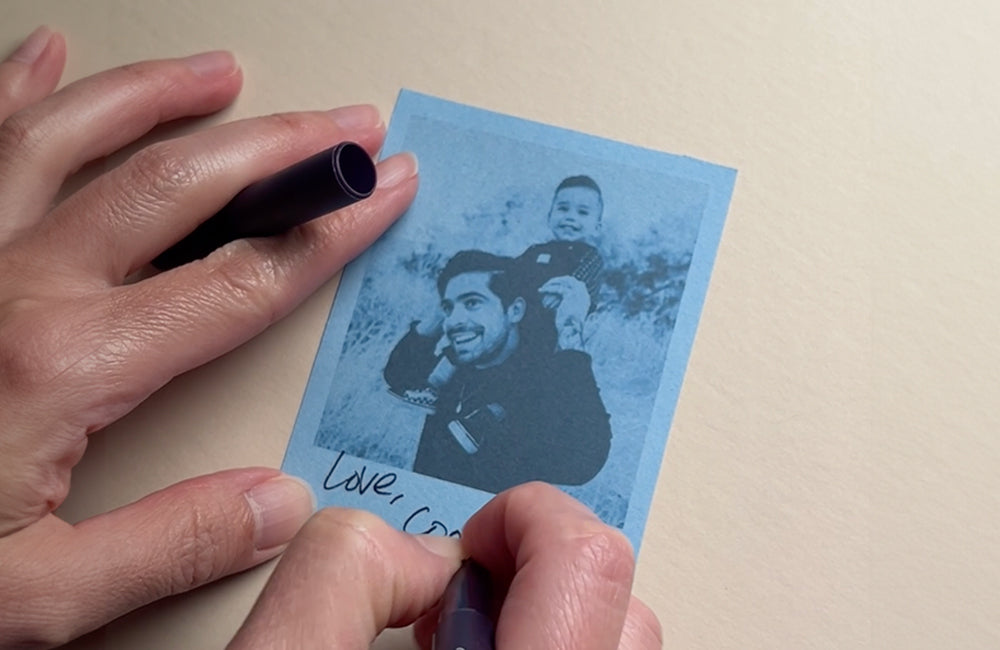
Print your edited photo on your choice of paper. Be sure to print with a cut line or trim marks around the border to use it as a guide to know where to cut around your photo. You can use white, textured, or colored cardstock. Each type of paper will give a different feel, so don’t hesitate to experiment to find the look you love. For instance, a blue cardstock can give a modern twist to the throwback aesthetic. If you don’t have any colored cardstock, you can also add a colored background to your image and print on white cardstock.

Step 6: Cut Around the Border
Using a pair of scissors, carefully cut along the border guides or trim marks. This will create the classic Polaroid frame around your photo.

Step 7: Write a Personal Message
Add a personal touch by writing a message at the bottom of the photo. This makes your Polaroid-style print even more special and unique.

Step 8: Attach to a Gift
Finally, use double-sided tape to attach your custom Polaroid photo to a gift. This little detail can elevate your gift presentation and show that extra bit of thoughtfulness.
Follow these steps and you can create beautiful, nostalgic Polaroid-style photos that are perfect for gifts, decorations, or keepsakes! If you decide to try this project, be sure to tag us on Instagram so we can see what you’ve made!